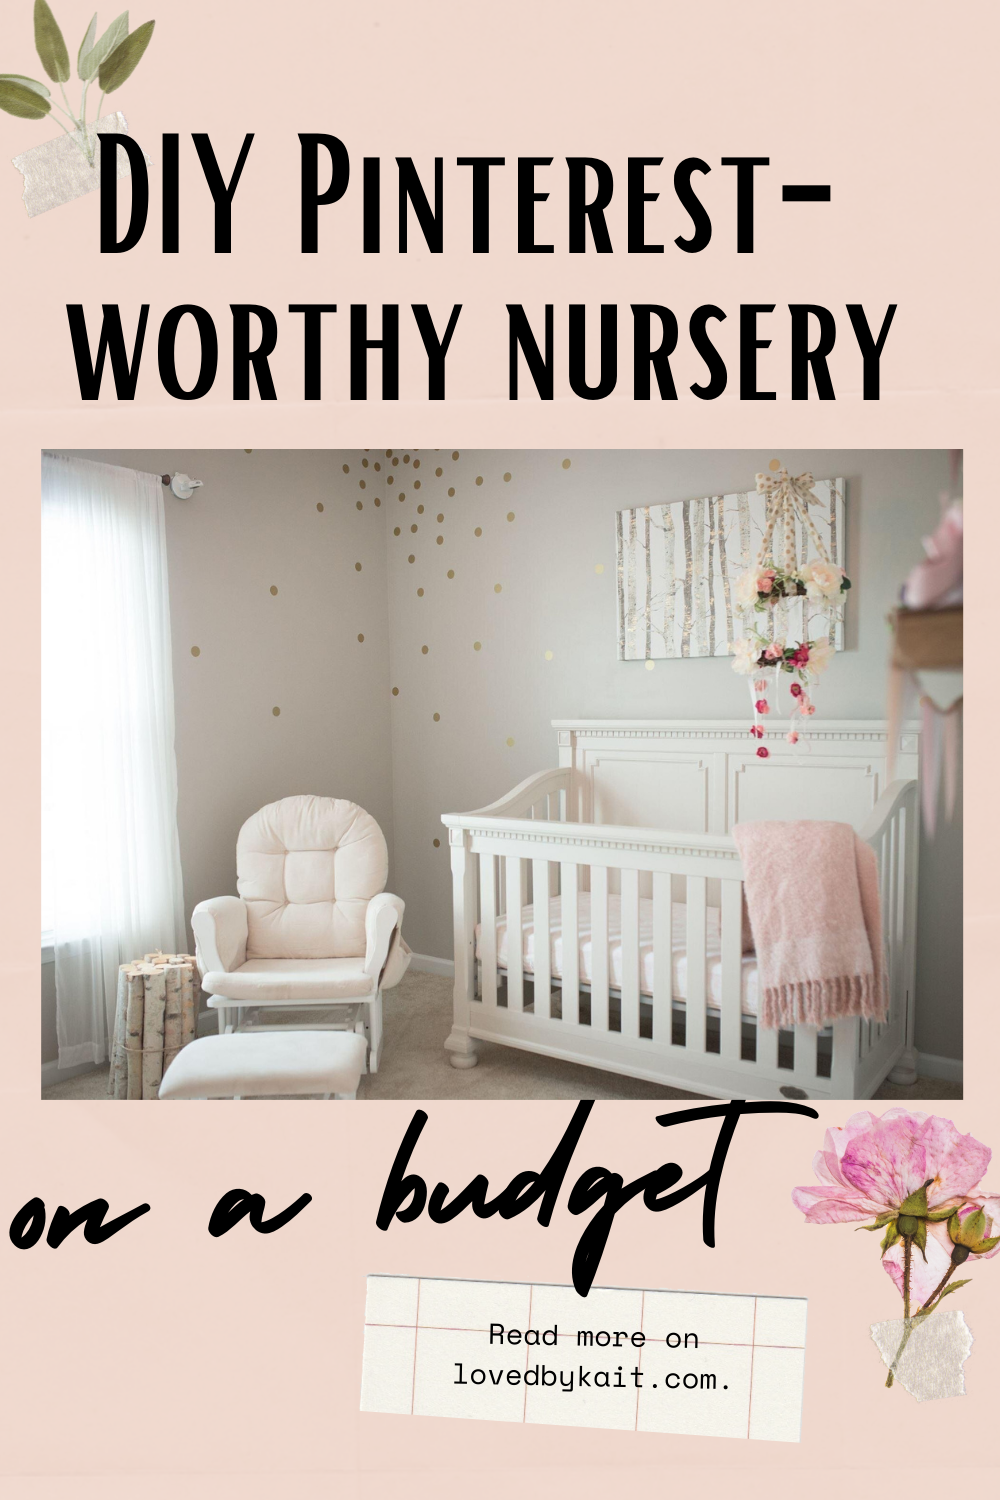
DIY Pinterest-Worthy Girly Nursery on a Budget
When we found out that we were having a little girl, I started to see frills and tutus and flowers and all kinds of girly things fill my Pinterest boards. But here’s the thing, making a Pinterest-worthy nursery doesn’t have to be expensive! You don’t have to buy every single accessory you see. You don’t have to it the most expensive rocking chair that reclines and vibrates and serves you dinner just because that one blogger did it. You can DIY your gorgeous, Pinterest-worthy nursery on a budget and I’m going to show you how I did it!
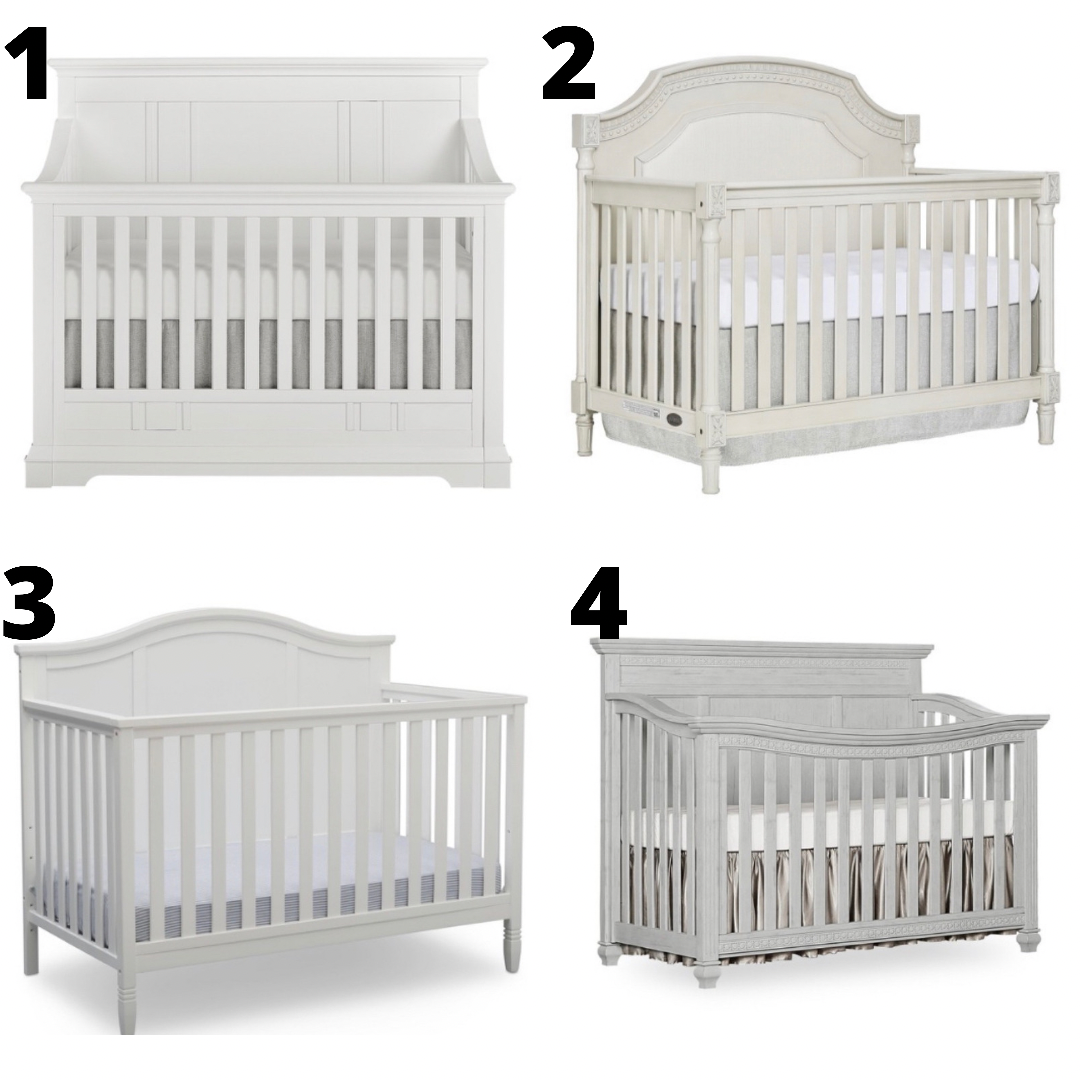
Now let’s start with the furniture because this is the base of the whole design. And really, the most important thing is deciding on the COLOR. All the details, the cut, the trimmings, the hardware, none of that stuff is as important as the color. We went with a “greige” (grey beige) color because I knew all of my kids would be using this set. We also splurged a little bit because, again, I knew all of my kids would be using this set. But when I say “splurge” I still mean under $1000 for the dresser and crib! We paid $800 for both and unfortunately our set is no longer being made, but here are some similar designs:
https://rstyle.me/cz-n/ey5a7jcknzp
https://rstyle.me/cz-n/ey5aspcknzp
https://rstyle.me/cz-n/ey5adicknzp
https://rstyle.me/cz-n/ey5br3cknzp
Once you’ve decided on the color of your furniture, you can start to think about the “theme” or the overall feel of your nursery. I wanted something peaceful & nature based, so we went with a girly woodland theme! My vision had a mix of soft pink tones with raw wood & gold for the girly factor.
My “raw wood” look was brought in with four things (two pictured above), three of which were DIY.
First is pictured above: the stick where I have some of her “on theme” outfits hanging. This stick is special to us because when we were pregnant with Evie, there was a hurricane and we were living in Norfolk, VA. We went to walk on the beach after the storm, like we did most days, and we found this beautiful stick washed up on the shore. I wouldn’t say I’m normally a sentimental person, but as a military family, I like to collect things from all of our duty stations - kind of like snippets of our lives - and this stick was the first piece! I snagged it and made Justin carry it along for the entire walk because I knew I needed it for the nursery. I had no idea what I was going to do with it, but I knew I needed it. We attached it to the wall using screws and hung some of our favorite light pink and white outfits on it. It became the anchor of this wall design!
The second raw wood element is in the above picture as well. I wanted some sort of “book station” & I wasn’t going to pay $200"+ for a book case or shelves for books, so I decided to DIY. I came across these raw wood crates, which I turned on their sides and stacked up to make my own bookshelf for a fraction of the price. Here are a couple more crates I liked if you are looking for a different wood finish:
https://rstyle.me/+BGMwM-R8zMlOkWhS7tISPA
https://rstyle.me/+O339NFjHoSc56kNr1UVc1Q
https://rstyle.me/+3b_JSYVYL-CK29qpFJ9zVg
Hanging shelves (not pictured) Here are a couple more I liked if you’re looking for a different wood tone:
https://rstyle.me/+FSB0Scx75qkPXXaOjglaNA
https://rstyle.me/+FrQjfDub5xSvQpdsDom7Fw
https://rstyle.me/+AXGSZxkze3lYJLXy_dY8uQ
Our last raw wood feature in the room was a side table made from a bundle of birch sticks that I tied with twine! You can buy a bundle of birch usually during the Christmas holidays at your local home depot or even grocery store. Here is one I found if you’re wanting to purchase online: https://rstyle.me/+RhUFPY3So4ecF5S78Ks0pQ. You’ll have to buy probably 6-8 of this bundle to make it be enough sticks to make a side table. I just tied it with thick jute twine I found at Michaels.
I also DIY-ed all the floral items in the room!
I saw a similar floral mobile on Etsy for $82 & I decided I could do it myself! The ones on Etsy are beautiful, but I didn’t want to spend that much. So, instead, I went to Hobby Lobby and purchased all the goodies to make it myself! I specifically go to Hobby Lobby instead of Michaels or another craft store because Hobby Lobby has 50% off on their flowers every other week. They have 50% off sales all the time & they have a 40% off one item coupon code I think most times that you go, so make sure that you ask the checkout worker to help you with that. It can be typically found on their website at the top on your phone right there at checkout. I’m all about getting the best deal!
I used the same flowers for the floral E that I made too. Here is the similar one from Etsy if you prefer to just purchase it! All you need is a foam poster board, a hot glue gun and lots of flowers to make this. I chose some large “anchor” flowers to anchor the E and then medium flowers to fill in the rest of the space. This takes a lot more flowers than you think it’s going to take, so make sure you buy some really affordable flowers. And one major tip that I can give is to check in the “bouquets” section instead of only grabbing single stems. This will save you a lot because sometimes the entire bouquet will cost the same amount that a single stem or two would cost.
The last way that I saved money in the nursery was to specifically tell people what I wanted for the nursery. These are people who specifically offered to get me gifts for baby. Let’s be honest, you’re still going to get gifts of cute clothes - like PLENTY of gifts of cute clothes, but you can also specifically ask for what you want for your nursery. Don’t be afraid to speak up when someone says “what do you need for the baby?” Just say something like “You know what, I really need X to complete the nursery!”
All of this to say that you really can have the Pinterest-worthy nursery of your dreams without blowing up your budget. You can do this! You just have to get creative.
What do you think of Evie’s nursery? Are you thinking you’ll keep your nursery more neutral? Or do you want a colorful nursery?


